
Configuring SSO via Microsoft AD
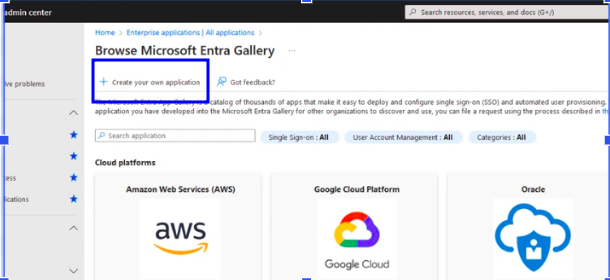
In AD, click on Add enterprise application

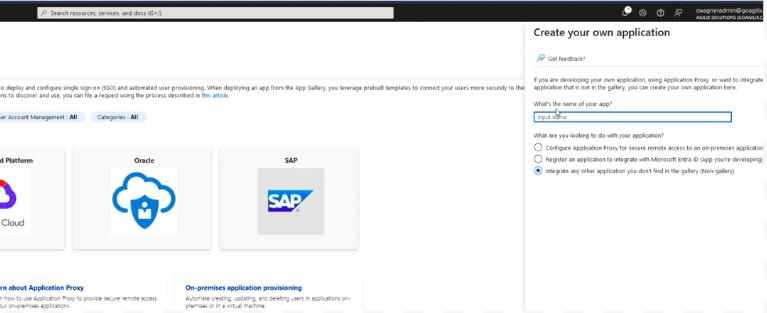
Click Create your own application
Give it a name
From the Settings -> Users page in Canals, at the bottom, is a SAML SSO setup section. download the Canals metadata file from there.
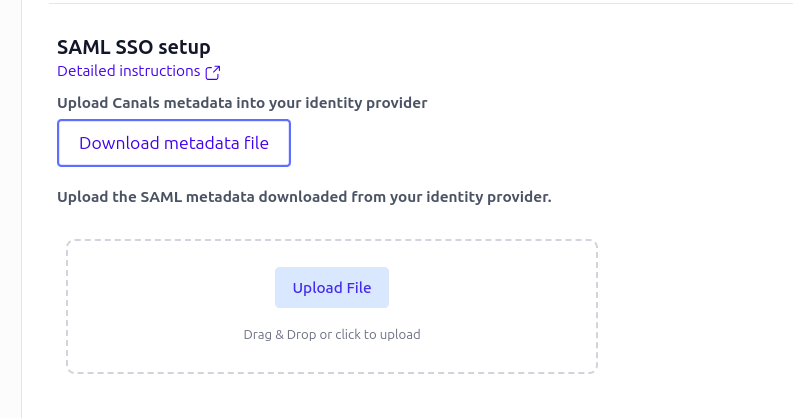
Upload the file to AD.
Note: Ensure the unique user identifier is set to user.mail. Sometimes it defaults to something else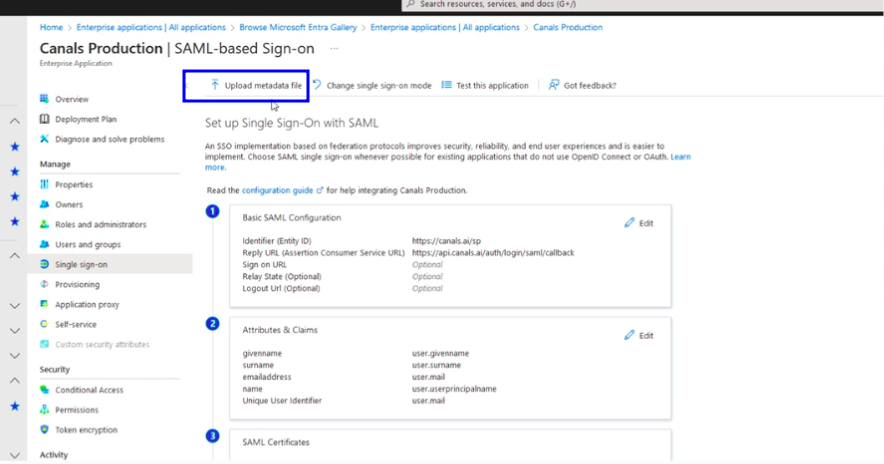
Download the Federation Metadata XML from AD.
Back on the Canals settings page, upload your xml.
Optionally, create canals_oe_users, canals_ap_users, and canals_admins groups and in the Group membership section add a line mapping those to an attribute called “groups”.
If a user is part of those groups, they’ll automatically be granted the appropriate permissions in Canals. Otherwise you’ll need to set those permissions inside Canals on the Users page.You might need to whitelist which groups are allowed access to Canals. If you created the Canals groups from the previous steps, you can assign those. Otherwise, you can assign whatever are the correct groups/users that should have access to Canals.

The Canals team will provide you with a unique link that your team can use to sign up or log into Canals without having to be manually invited from the Users page.